Installing CodeDrive
CodeDrive is available in two packages
- Visual Studio 2010 extension
- Standalone IDE based on free Visual Studio Integrated Shell
Both packages are available via a single installer
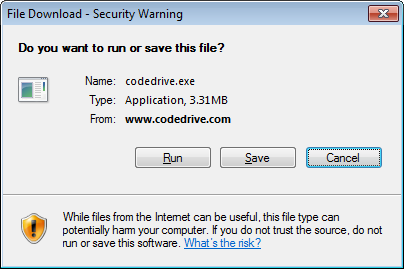
Step 1. Download the latest version of CodeDrive
To download the latest CodeDrive installer from www.codedrive.com website. Click Save or Run (the dialog appearance may vary in different browsers). Depending on your Internet connection speed, the download may take a few minutes.
Step 2. Installation
As soon as the download is complete, start the CodeDrive Setup Wizard. Follow the steps in the wizard to choose the setup settings.
The CodeDrive installer will automatically check if Visual Studio 2010 is installed on your machine.
You do not have Visual Studio 2010 installed
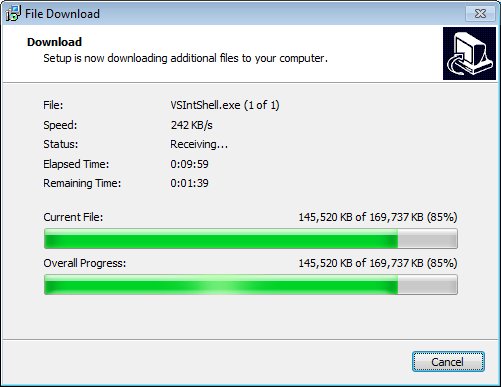
If Visual Studio 2010 is not found, CodeDrive will download Visual Studio 2010 Integrated Shell. The Integrated Shell contains basic Visual Studio functionality and allows users to use standard Visual Studio features along with CodeDrive. Read more about Visual Studio 2010 Integrated Shell.
Visual Studio 2010 Integrated Shell download file weighs about 170 MB which means that it may take a long time to download even with a high-speed Internet connection. The download process will be indicated with the progress bar in the installer.
After downloading and installing Visual Studio 2010 Integrated Shell, CodeDrive will be installed.

Visual Studio 2010 is installed on your machine
If Visual Studio 2010 is already installed on your machine, CodeDrive will be installed as an extension. It does not take a lot of time to install CodeDrive and the existing Visual Studio settings will not be overwritten.
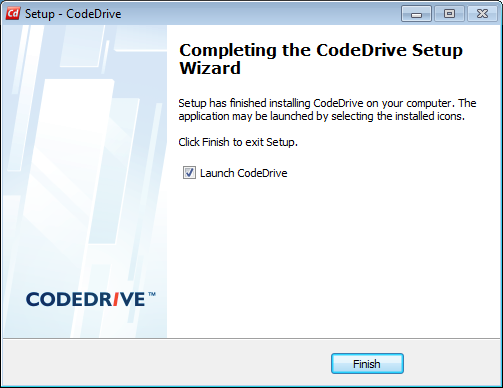
Step 3. Start CodeDrive
Finally, the installer suggests to start CodeDrive immediately. If you do not want to start CodeDrive after installation, uncheck the box Launch CodeDrive and click Finish.
If you choose Launch CodeDrive during the last installation step, a Visual Studio 2010 splash screen will be shown. Bear in mind that the first launch may take a long time.
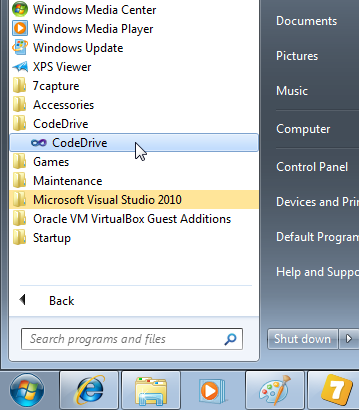
CodeDrive may be launched later through the Start Menu
Step 4. Registering CodeDrive
According to the CodeDrive EULA, in order to use the product for educational, non-profit and commercial purposes you must register it. For any other cases, registration is not required. Registering CodeDrive is free and gets you number of benefits - access to product special offers, newsletter subscription, etc. Active Internet connection is required for the registration.
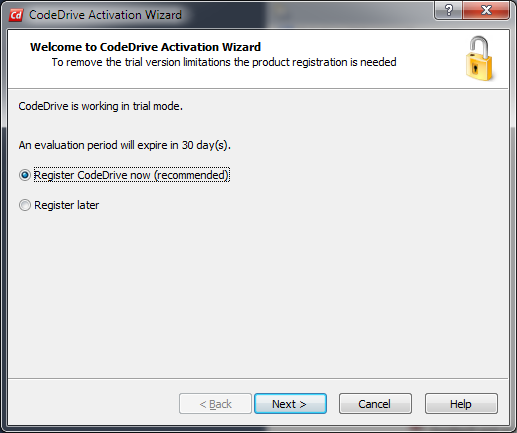
A trial or commercial license is required for working with CodeDrive. The Activation Wizard Window will appear when you open or create a project.

Choose one of the license types and follow the instruction of the Activation Wizard.
Even if you have chosen 'free trial usage', you can always register this copy of CodeDrive with a commercial license.
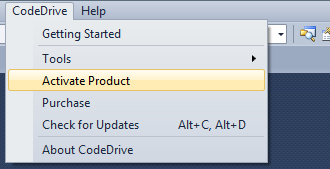
For registering your commercial license, choose CodeDrive from the main Visual Studio menu, and then click Activate Product. This option will disappear from the menu as soon as you register CodeDrive.
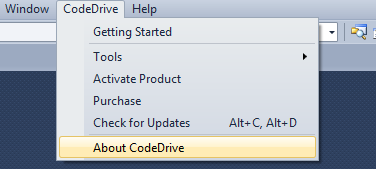
You can access the information about current registration status in the About window.

